
My cookbook collection is large and varied with titles from Neil Perry’s "Balance and Harmony" to "Cooking with F•R•I•E•N•D•S". Stay tuned for Joey’s Walnut Scones!
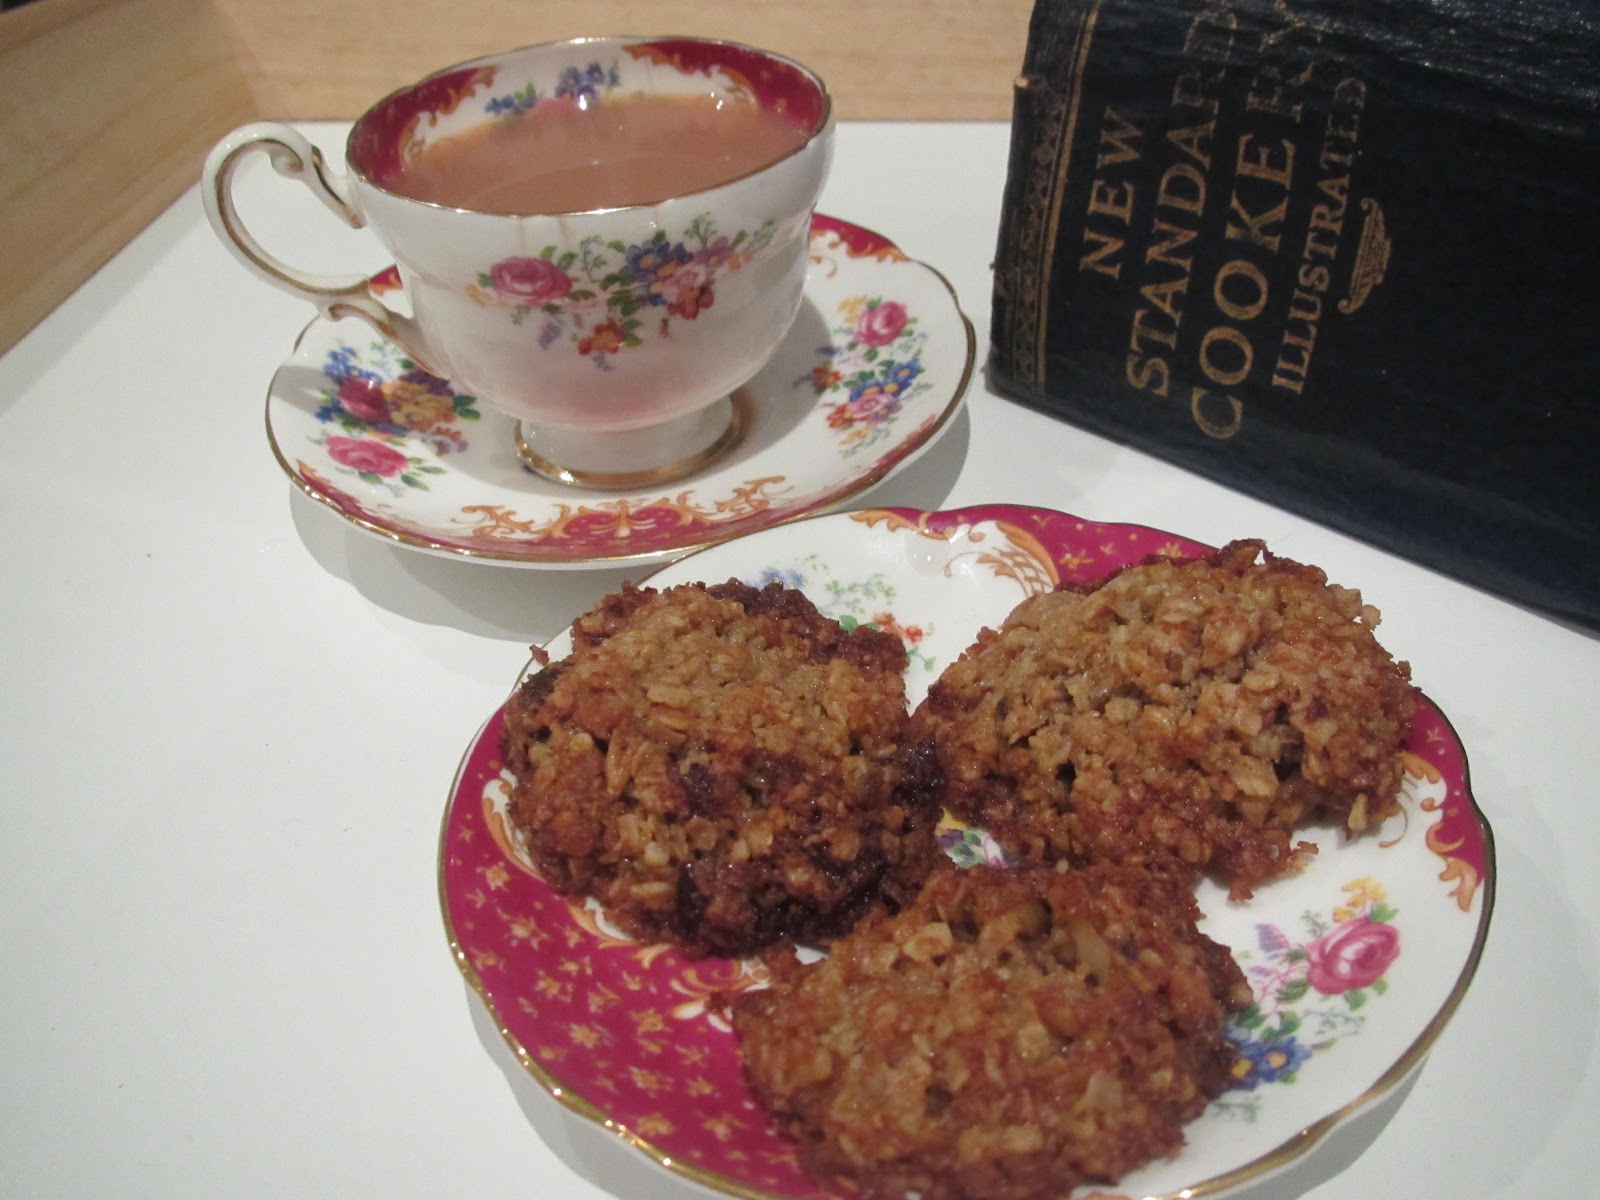
The oldest cookbook in my collection is the "New
Standard Cookery Illustrated", edited by Elizabeth Craig, first published in England in the early 1930's. It was my mothers and I believe it belonged to her mother before that so it is very special to me.
It is not only a cookbook but also a manual for running a house and it provides a
fascinating snapshot of life at that time. One of my favourite chapters is "Household Management”, which includes such topics as “Between Mistress and Maid” and "Entertaining without a maid"!! Imagine! Very Downton Abbey.
There is even a chapter for the colonies - "The Australian Kitchen", Recipes include Kangaroo Tail
Soup and Stewed Bandicoot! Might give those a miss...
Instead I thought I would try something a little easier with ingredients I recognised!

Spiced Oatmeal Crisps
Ingredients
Method

I must say I had some trouble with this 'easy' recipe but then I rarely make biscuits so it is not second nature to me. I made them twice and whilst the second batch was better I wouldn't say they were a standout success. In keeping with the age of the recipe I attempted to cream the butter and sugar by hand. Hmm, let's just say grandma's generation had better arm muscles than me! Also, I guessed a hot oven to be 200 degrees which was far too hot. In the end around 180 degrees was high enough and they cooked very quickly. - not more than 10 minutes. The crisps themselves were very tasty though not the prettiest and some didn't crisp up - but I am sure that is the fault of the cook and not the recipe. I think a more experienced baker would have no problems obtaining a great result.
I thought it appropriate to enjoy the crisps with a cup of tea in the tea set my mother was given as a wedding present 55 years ago.

The illustrated part of this book is 3 colour and about 50 black and white images like the one below. Given there are nearly 1000 pages in the book it is very different to today's cookbooks but I suspect quite progressive for the time.

And at the back of the book I discovered gold! Gorgeous hand written recipes, presumably written by my grandmother. This is a very special book indeed.


Spiced Oatmeal Crisps
Ingredients
- 1 cup desiccated coconut
- 1.5 cups oatmeal
- .5 teaspoon ground cinnamon
- 1 level teaspoon baking soda
- 1 cup butter (250 grams)
- 2 eggs
- 1 cup chopped walnuts
- 1 cup brown sugar
- 1 cup chopped raisins
Method
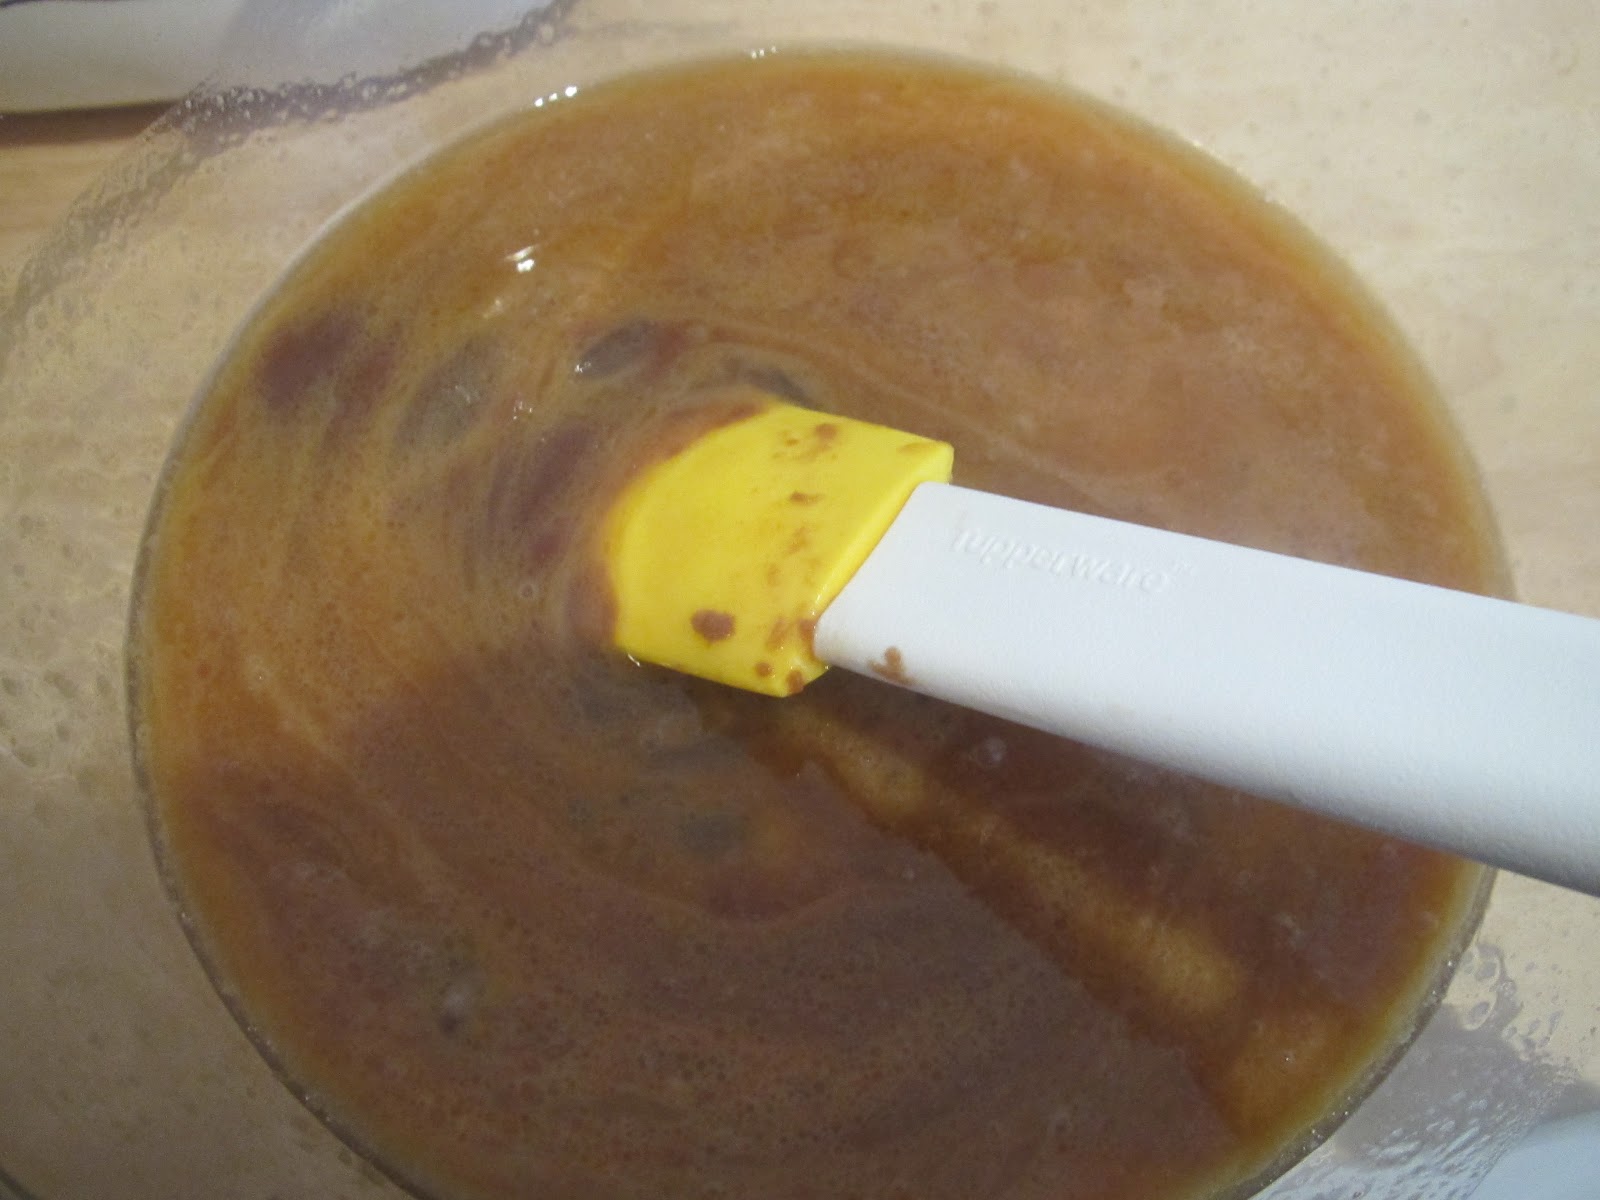
- Cream the butter and sugar
- Stir in the beaten eggs and oatmeal (as quickly as possible)
- Stir in the raisins, walnuts, cinnamon, coconut and the baking soda dissolved in 1 tablespoon of boiling water
- Place teaspoons of the mixture on a greased baking tray and bake in a hot oven until brown (I used baking paper)
- Let the crisps cool on the baking tray before transferring to a plate

I must say I had some trouble with this 'easy' recipe but then I rarely make biscuits so it is not second nature to me. I made them twice and whilst the second batch was better I wouldn't say they were a standout success. In keeping with the age of the recipe I attempted to cream the butter and sugar by hand. Hmm, let's just say grandma's generation had better arm muscles than me! Also, I guessed a hot oven to be 200 degrees which was far too hot. In the end around 180 degrees was high enough and they cooked very quickly. - not more than 10 minutes. The crisps themselves were very tasty though not the prettiest and some didn't crisp up - but I am sure that is the fault of the cook and not the recipe. I think a more experienced baker would have no problems obtaining a great result.
I thought it appropriate to enjoy the crisps with a cup of tea in the tea set my mother was given as a wedding present 55 years ago.
The illustrated part of this book is 3 colour and about 50 black and white images like the one below. Given there are nearly 1000 pages in the book it is very different to today's cookbooks but I suspect quite progressive for the time.

And at the back of the book I discovered gold! Gorgeous hand written recipes, presumably written by my grandmother. This is a very special book indeed.


